CNC & Molding and Casting
1. Design something and make it using CNC. You may use the ShopBot (2D outlines), the Shaper (2D outlines) or the SRM-20 (2.5D molds).
2. Create something by molding and casting.
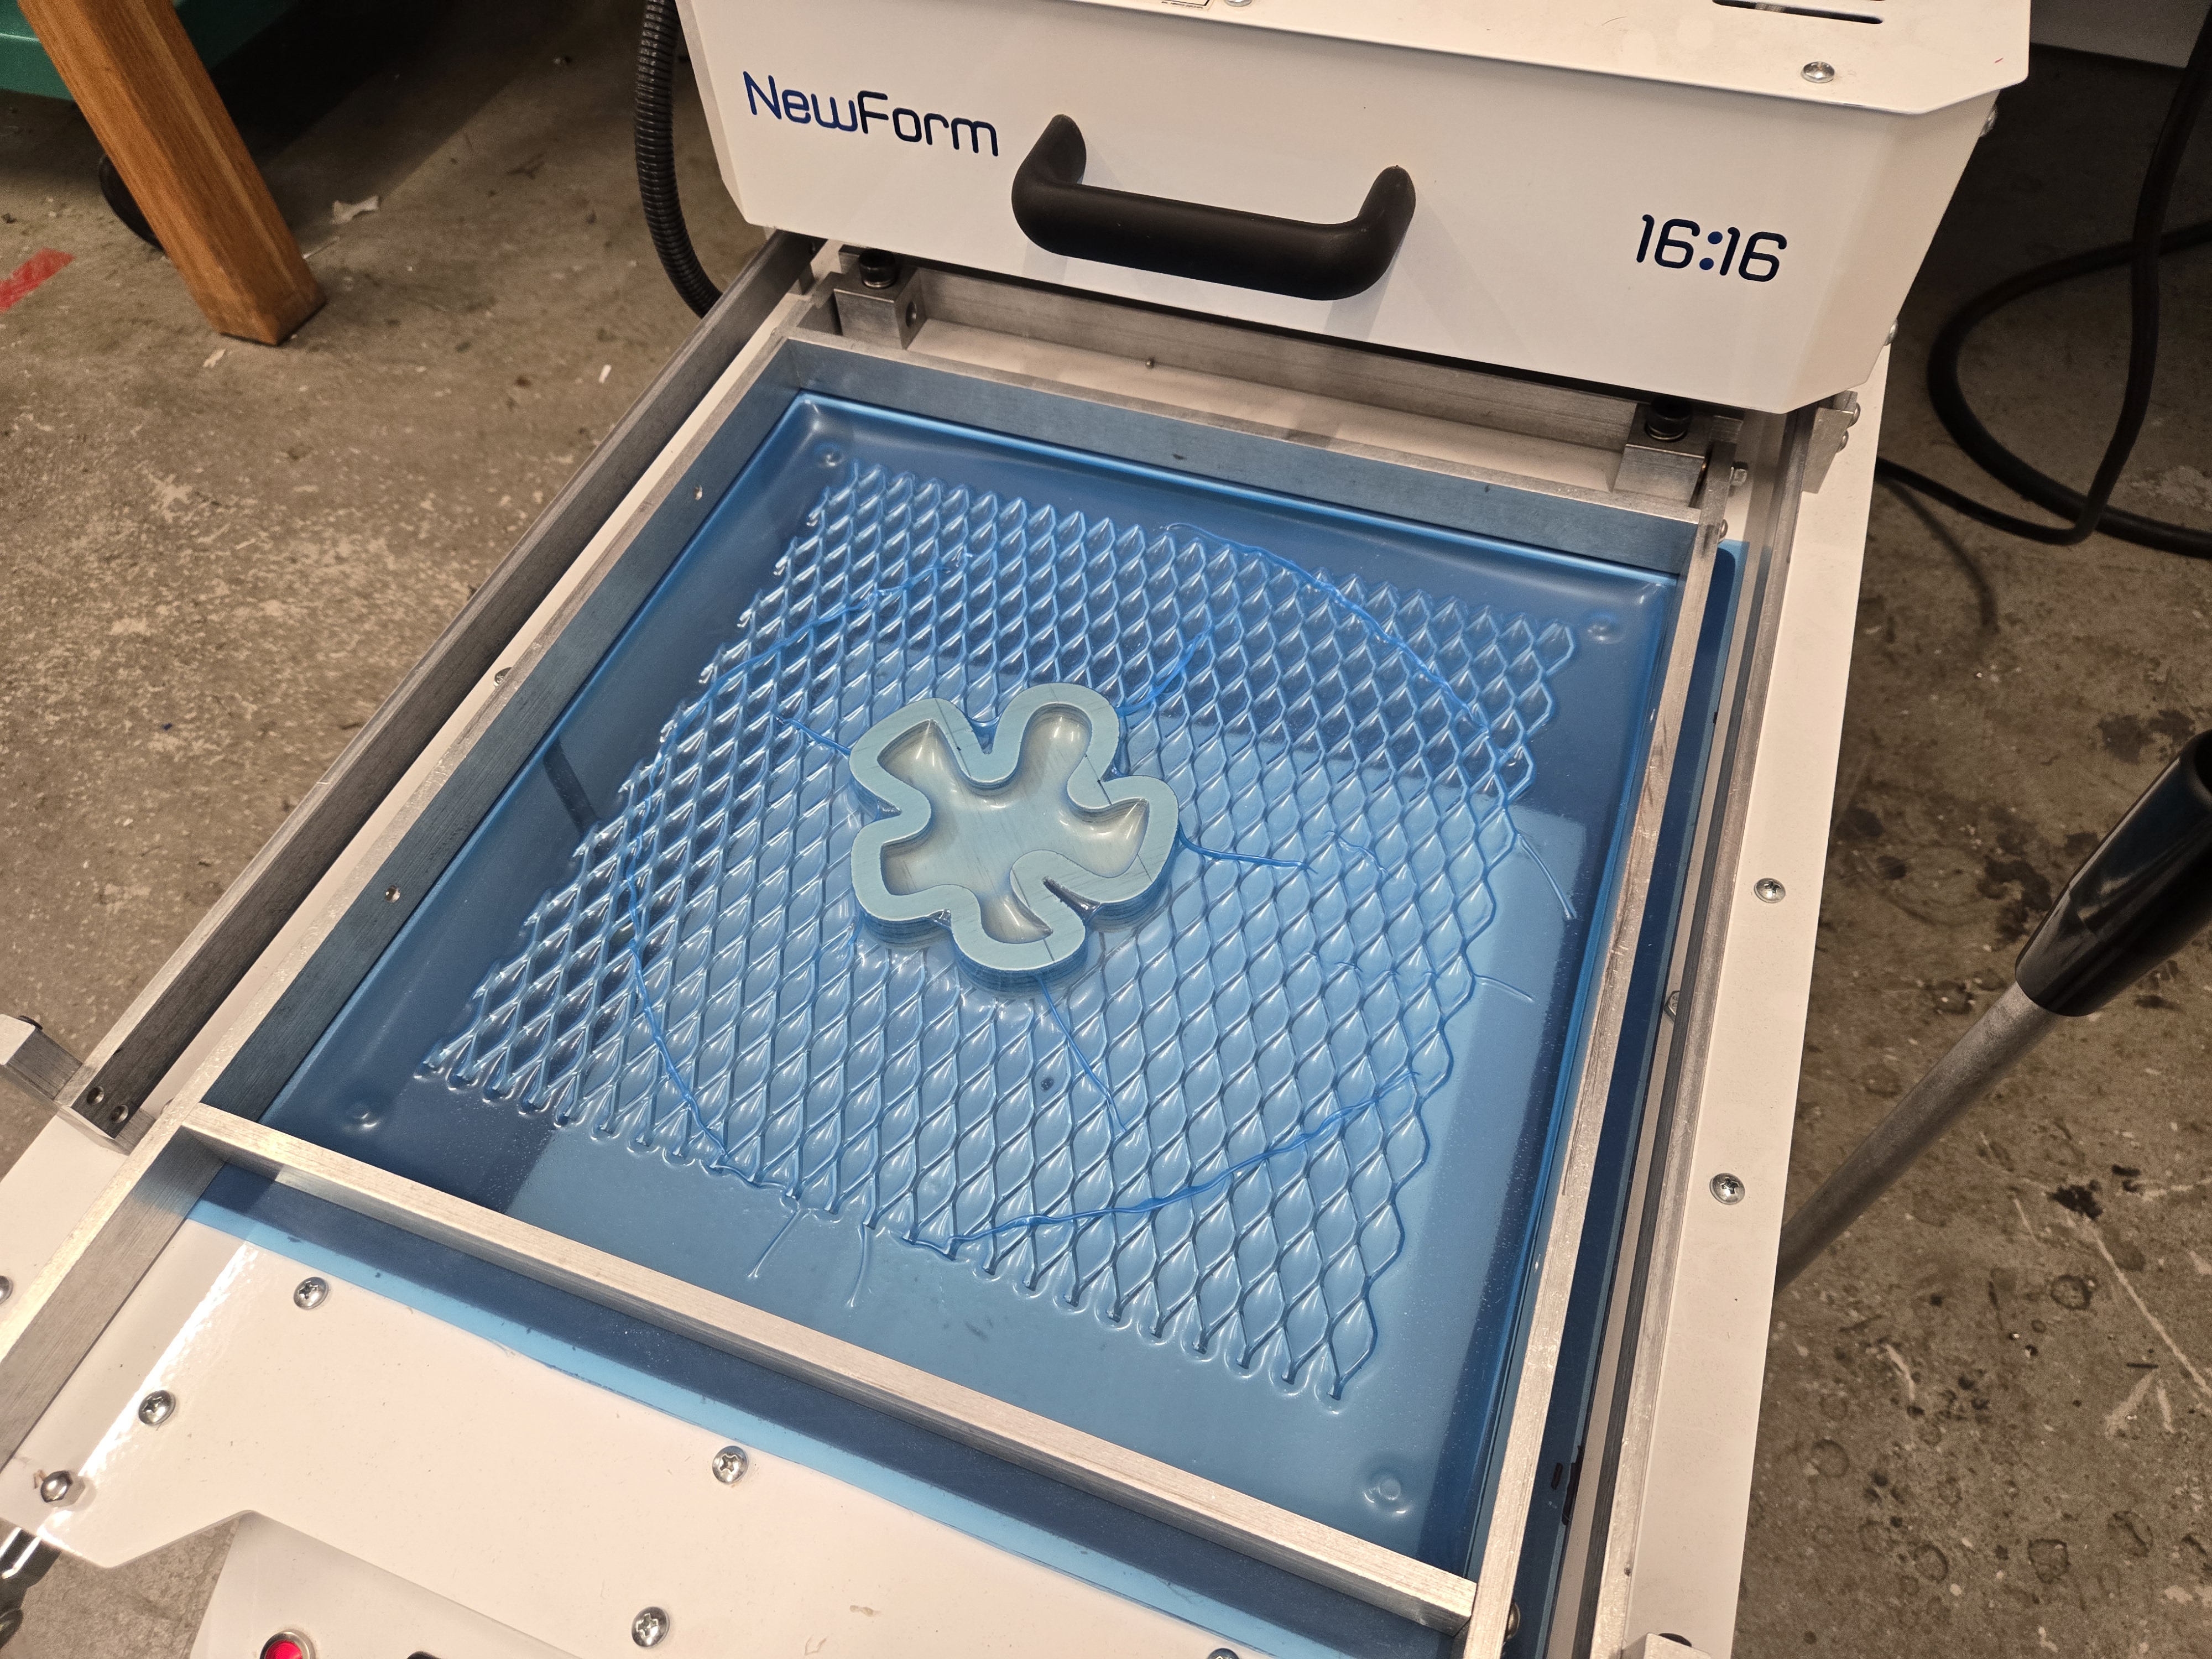
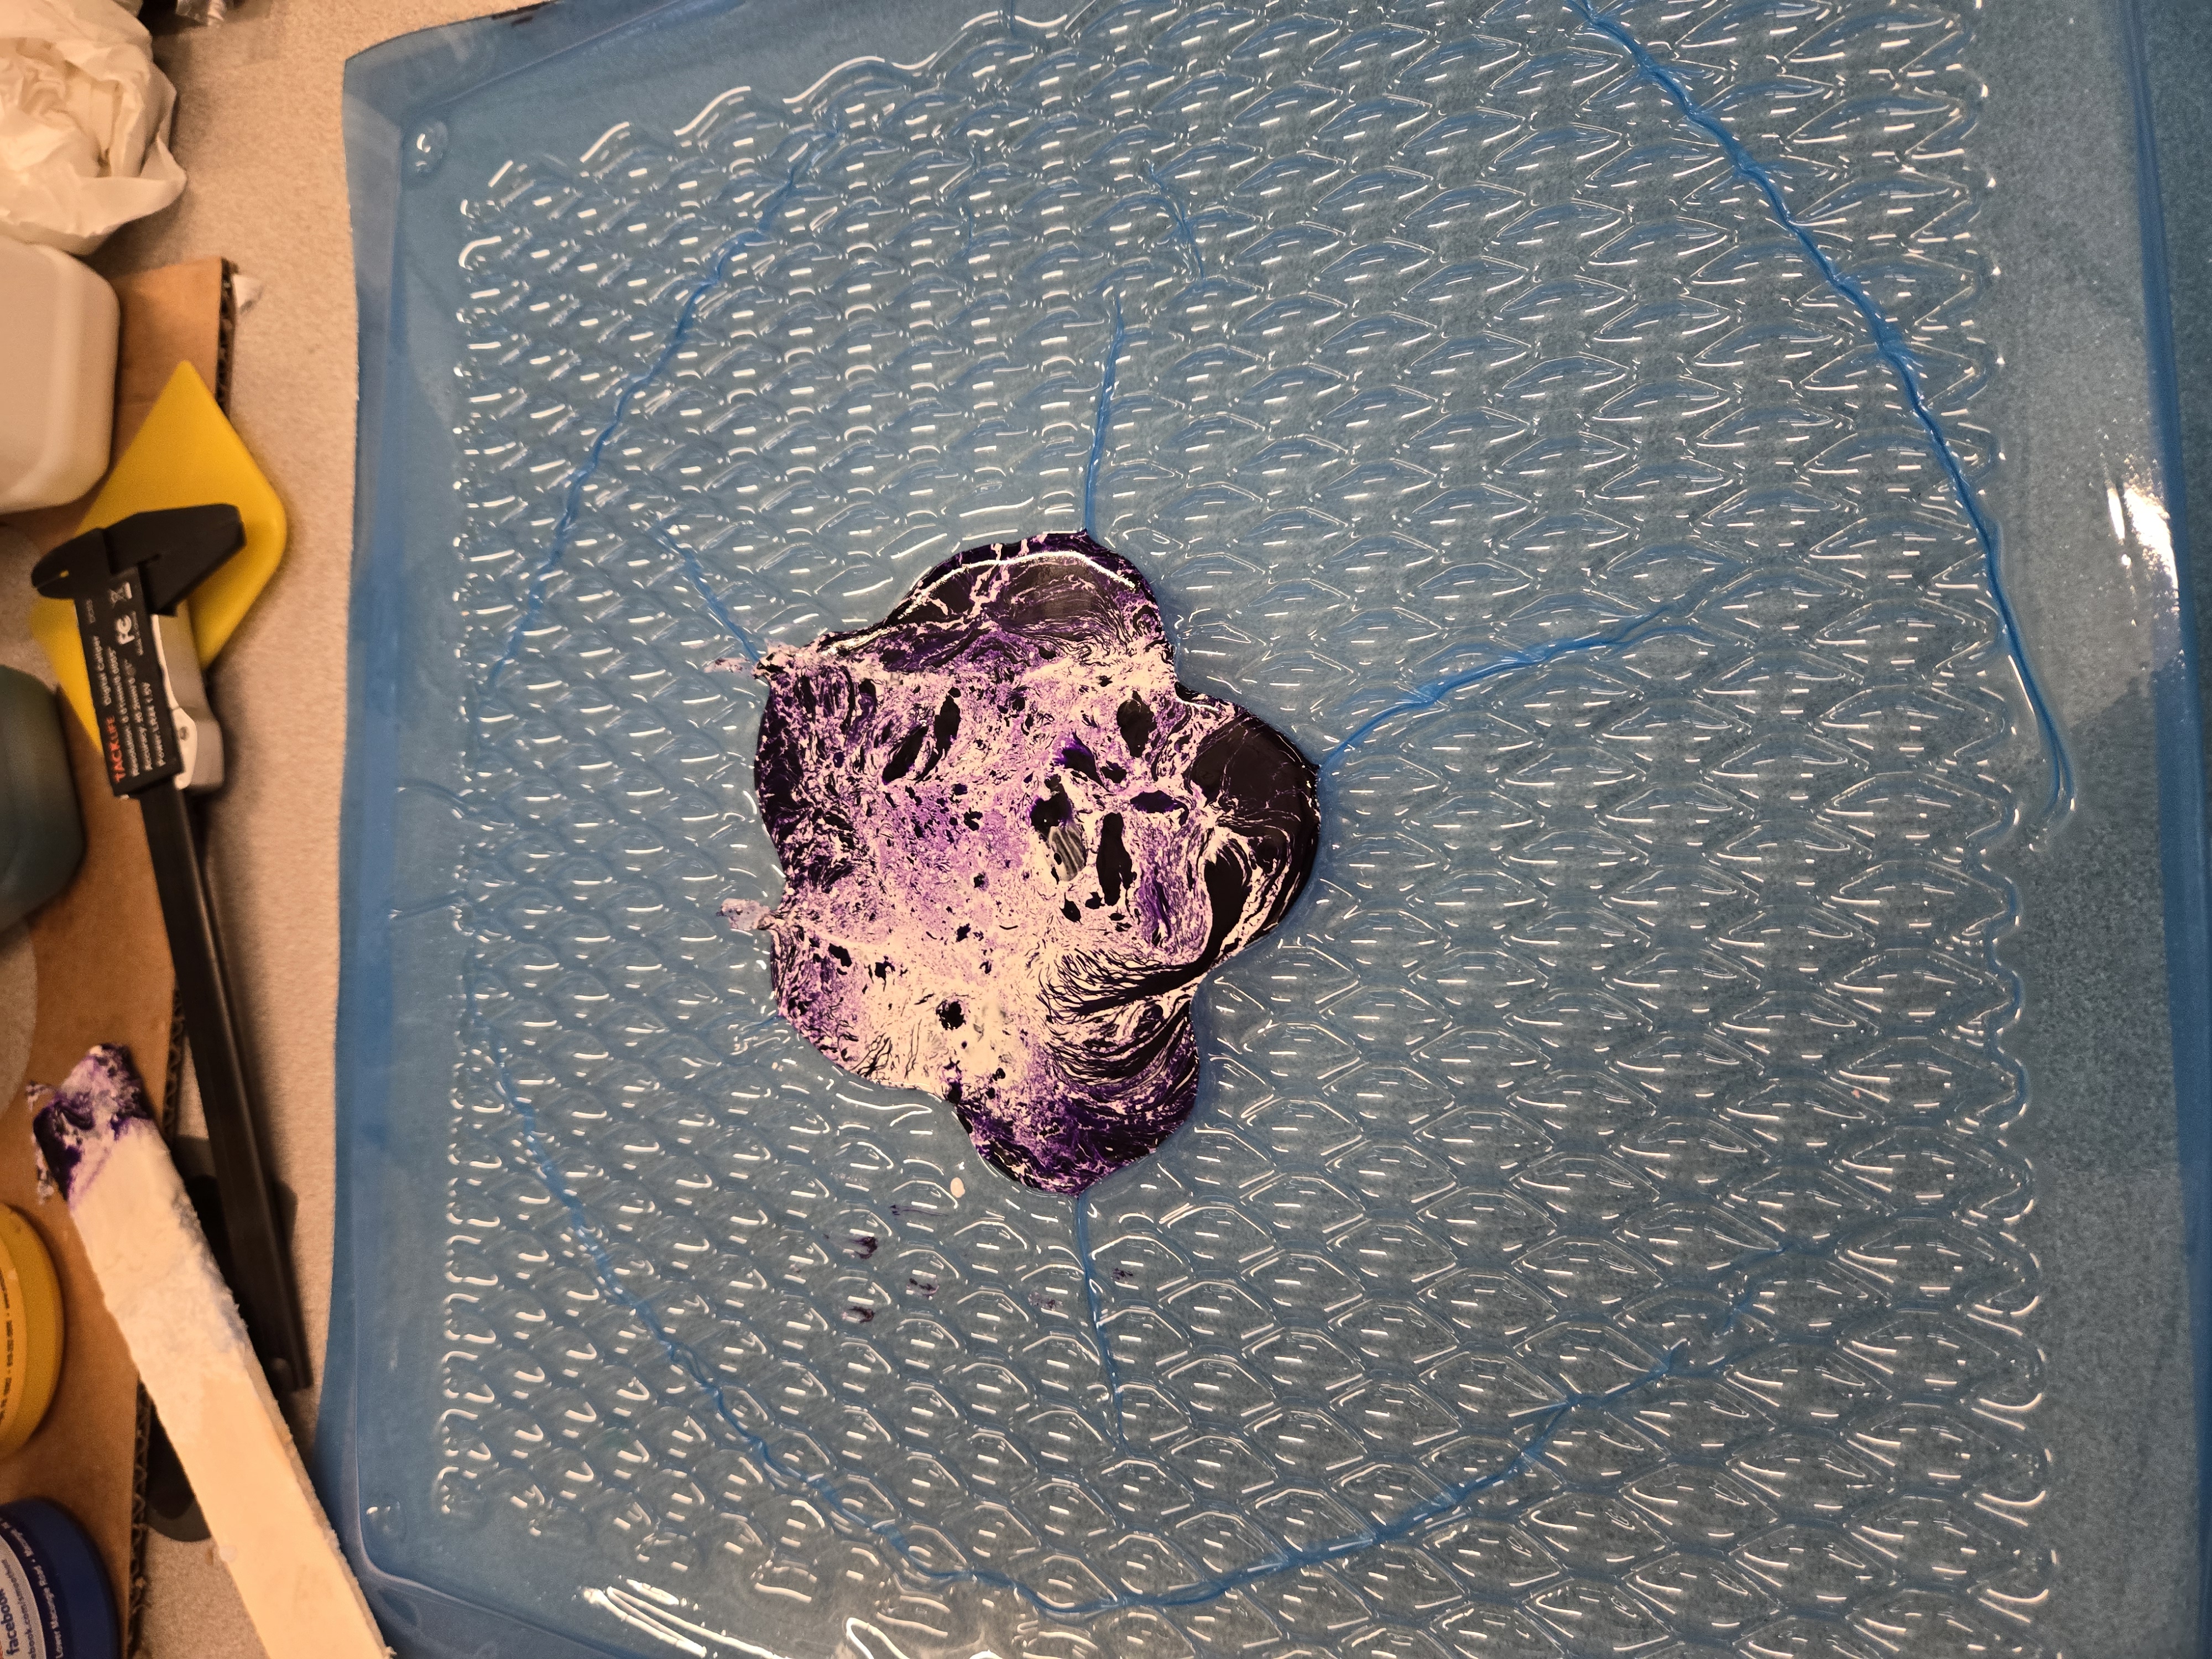
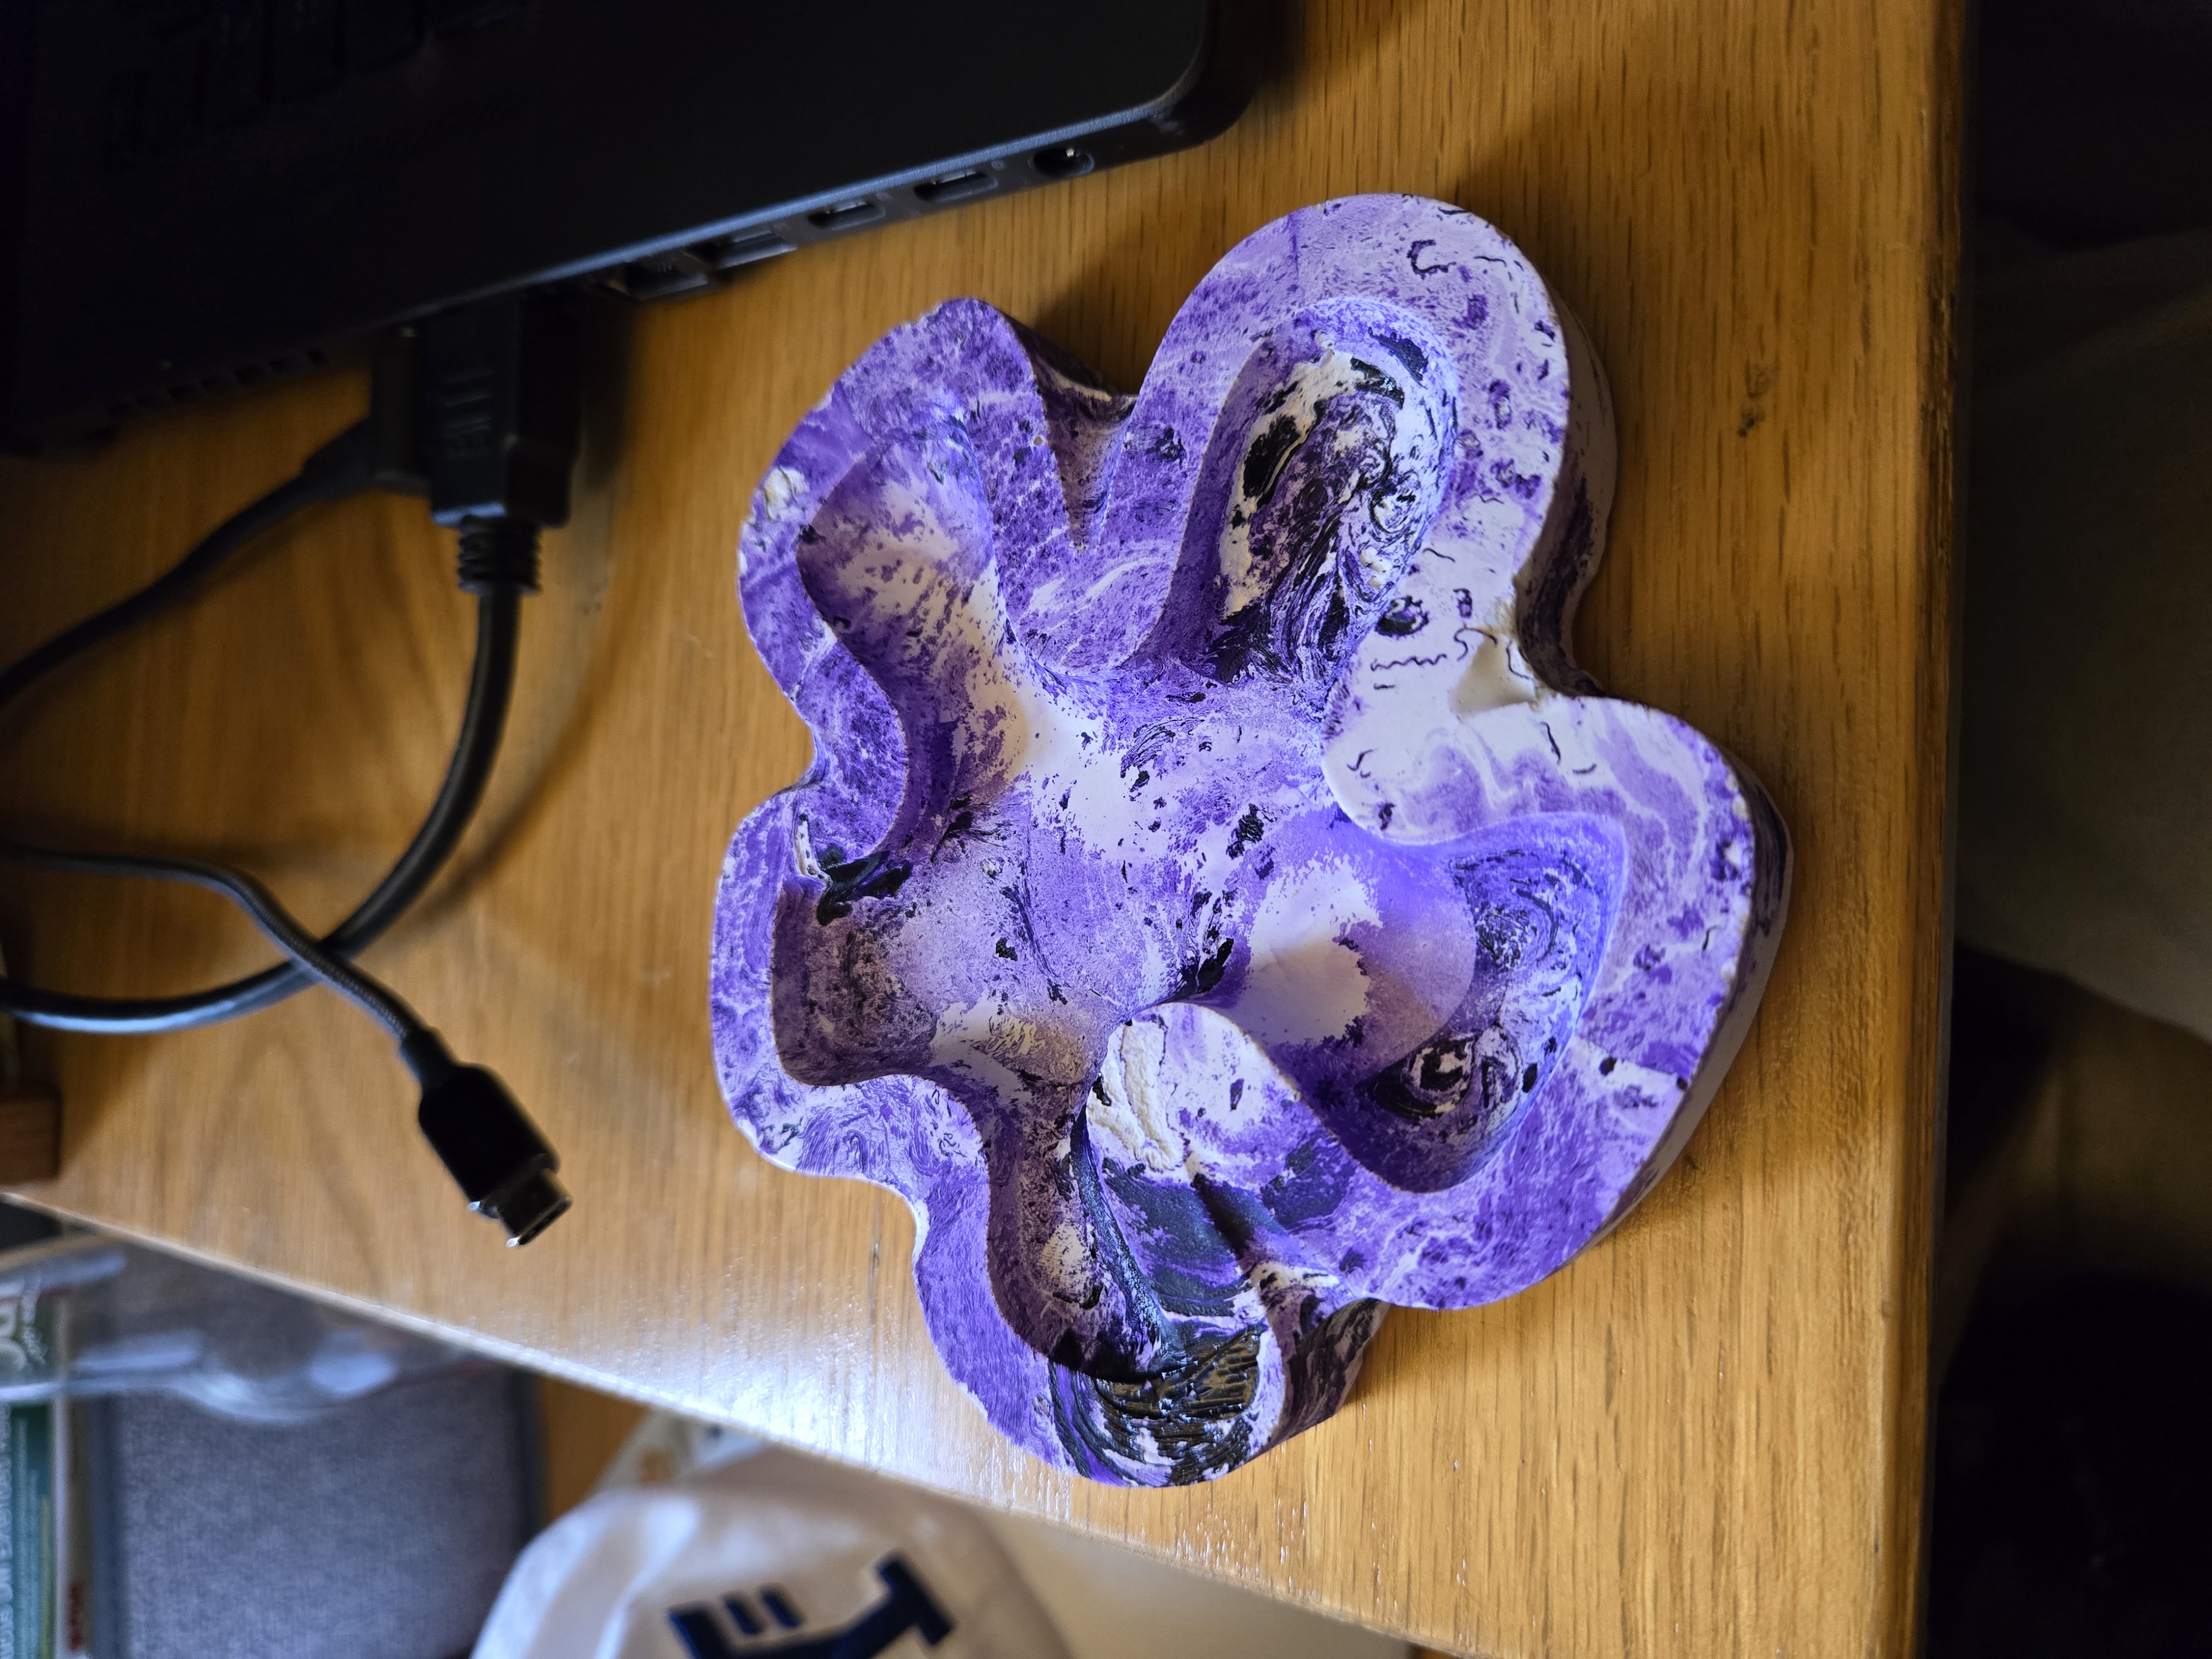
This week, I wanted to use the CNC machine to cut out a jewelry dish in the shape of the Hawaiian plumeria (which Cassia later called "the spongebob flower looking thing"). To do this, I designed a simple 2d sketch of the flower and the sketch of the inside. I overlayed a simple image of the flower for reference on the plane.


Once that was complete, I brought the dxf file into the shopbot software. I wasn't able to get photos of this process, but I'll try to briefly describe the process. The work piece is secured to a sacrificial layer of wood on the shopbot and is held down by plastic nails. I did an "air cut" to see if the tool path was correct, and then adjusted the CNC machine to the piece of work. To make the dish shape, I set the inside outline to the "pocket" setting, cutting only through the first couple layers of wood.
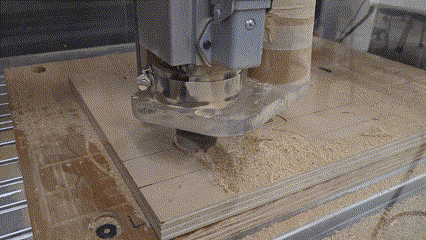
The CNC machine cuts layer by layer (sort of like a backwards 3D printer).