2D Design and Cutting
Part 1: 3D Modeling an Object from Real Life
For this assignment, we were tasked with creating a couple of CAD model objects, with a joint of some sorts. The first object I created was a water bottle.
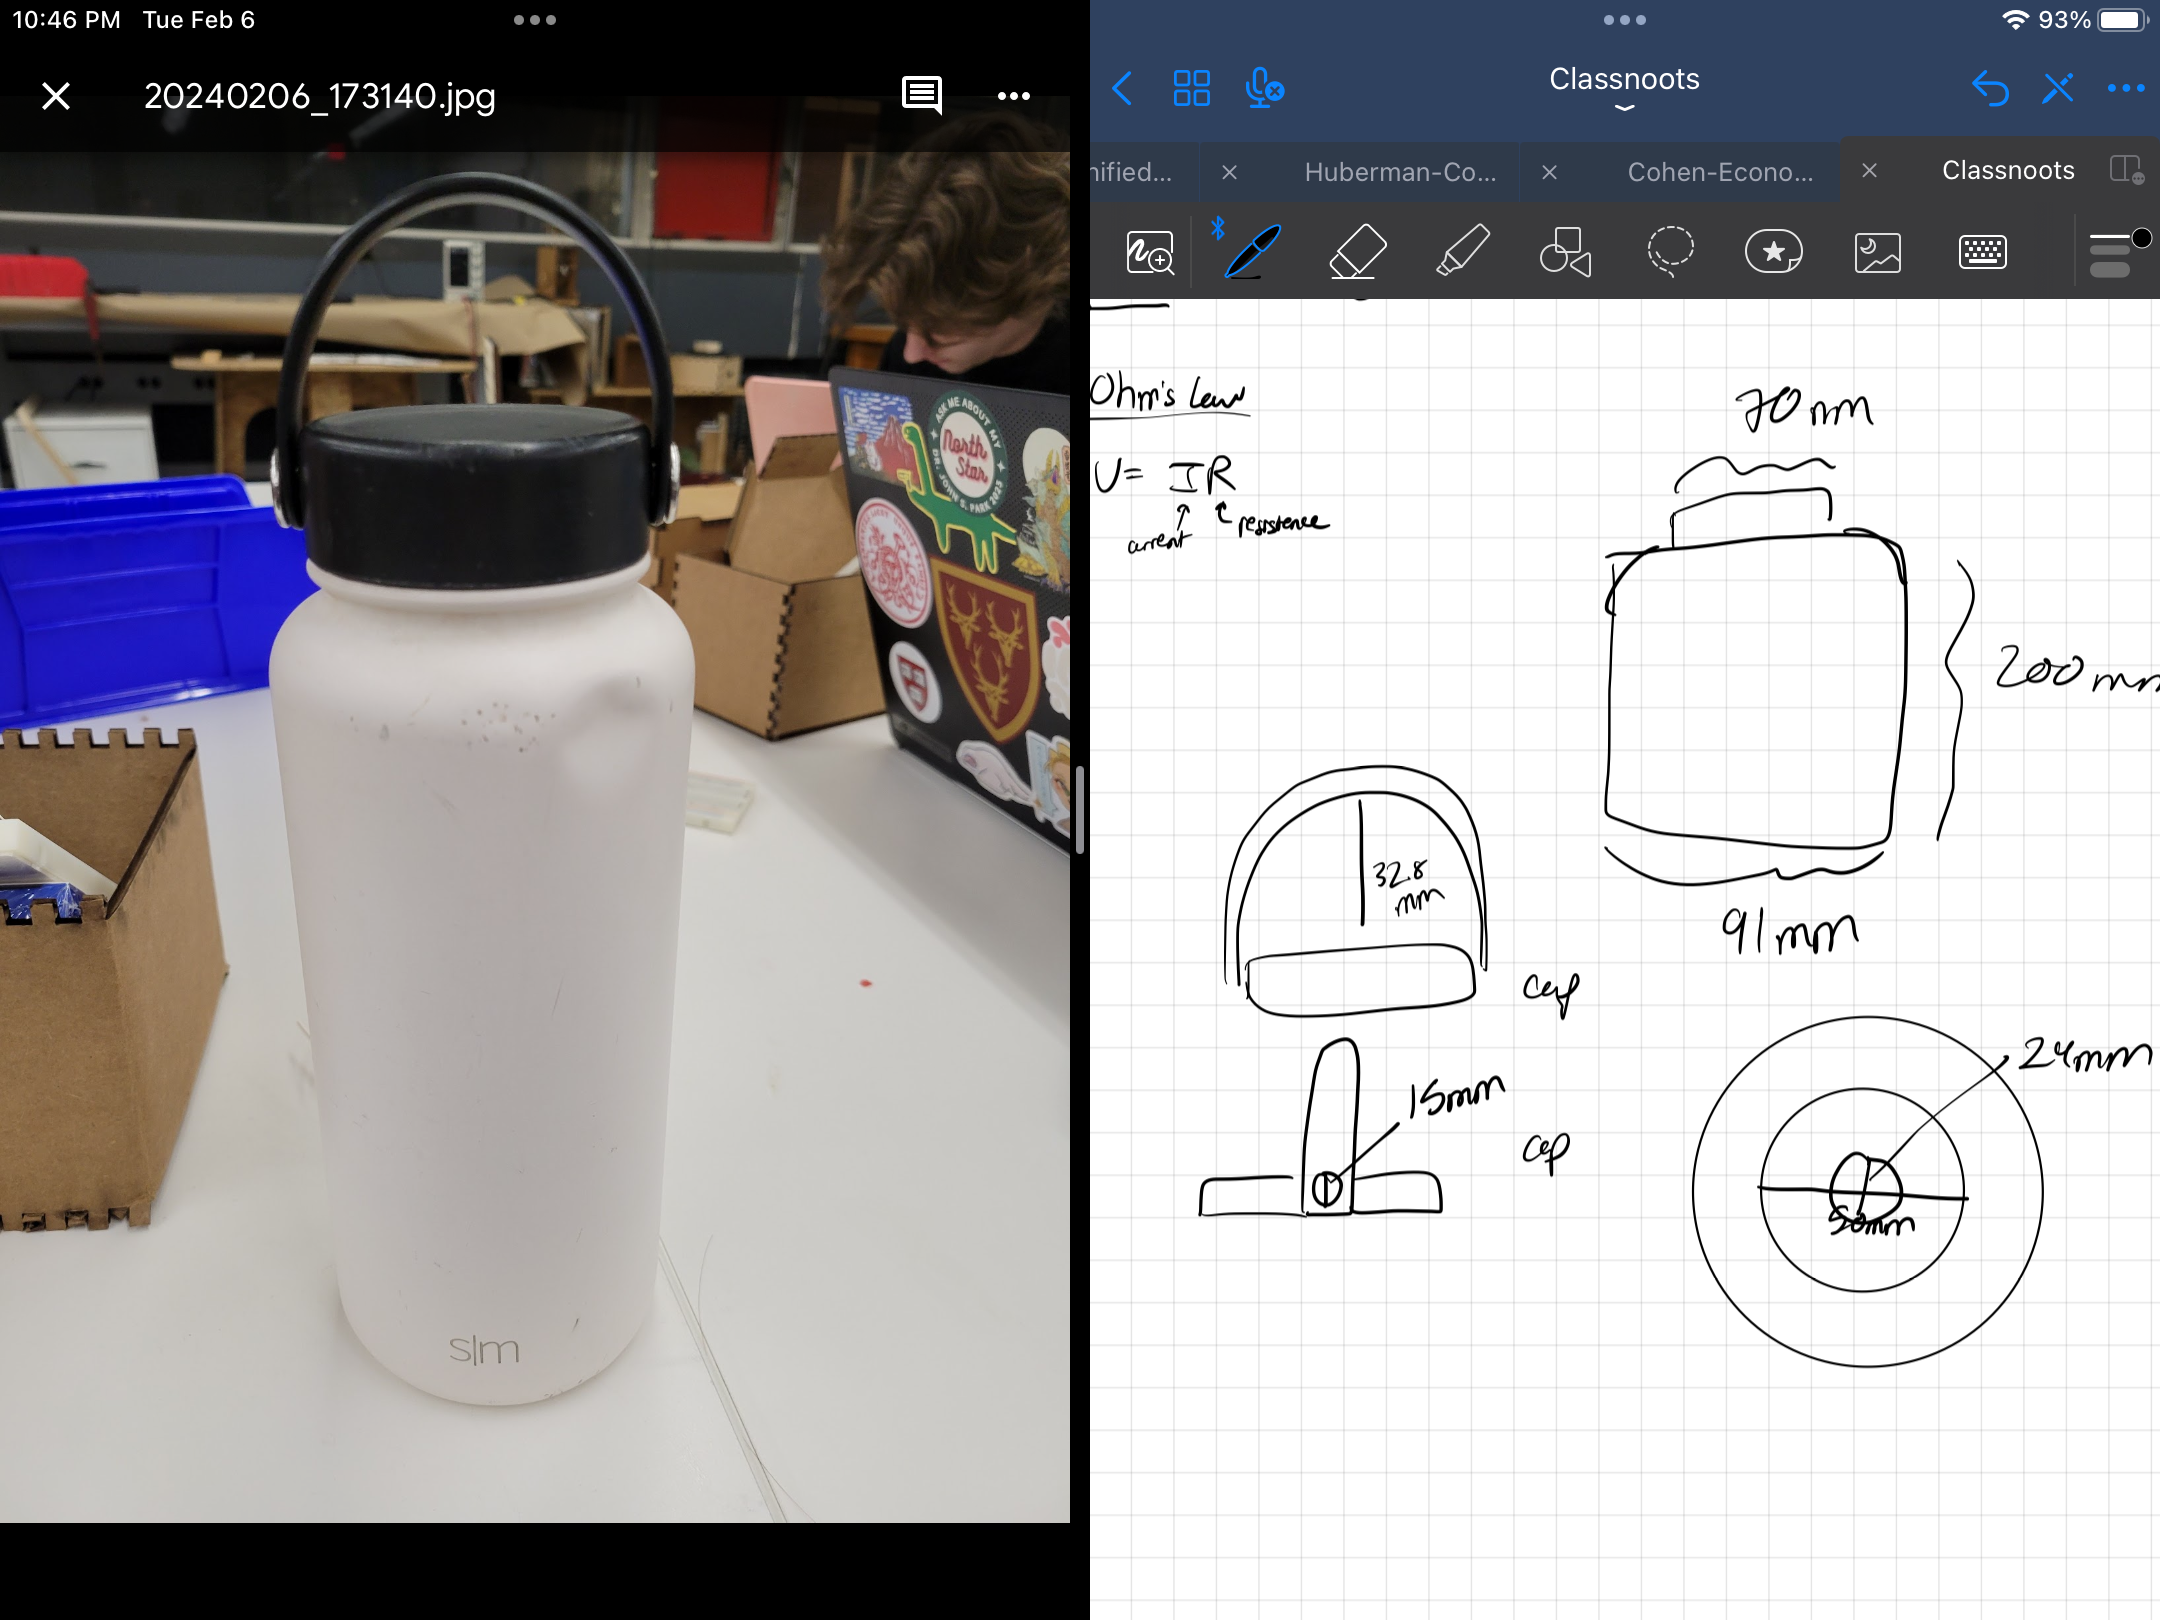
Picture of the water bottle, along with the initial sketches.
To create this model, I divided the water bottle into 3 parts: the bottle, the lid, and the handle. Below are sketches of the components:
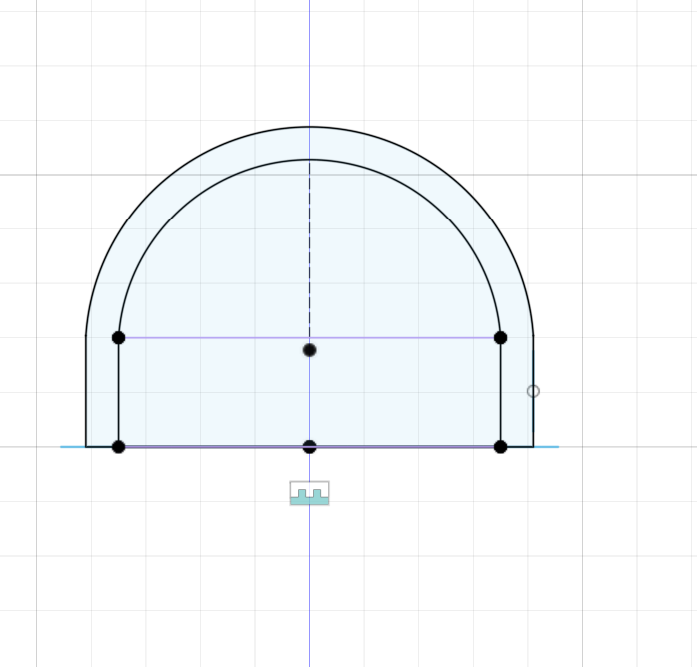

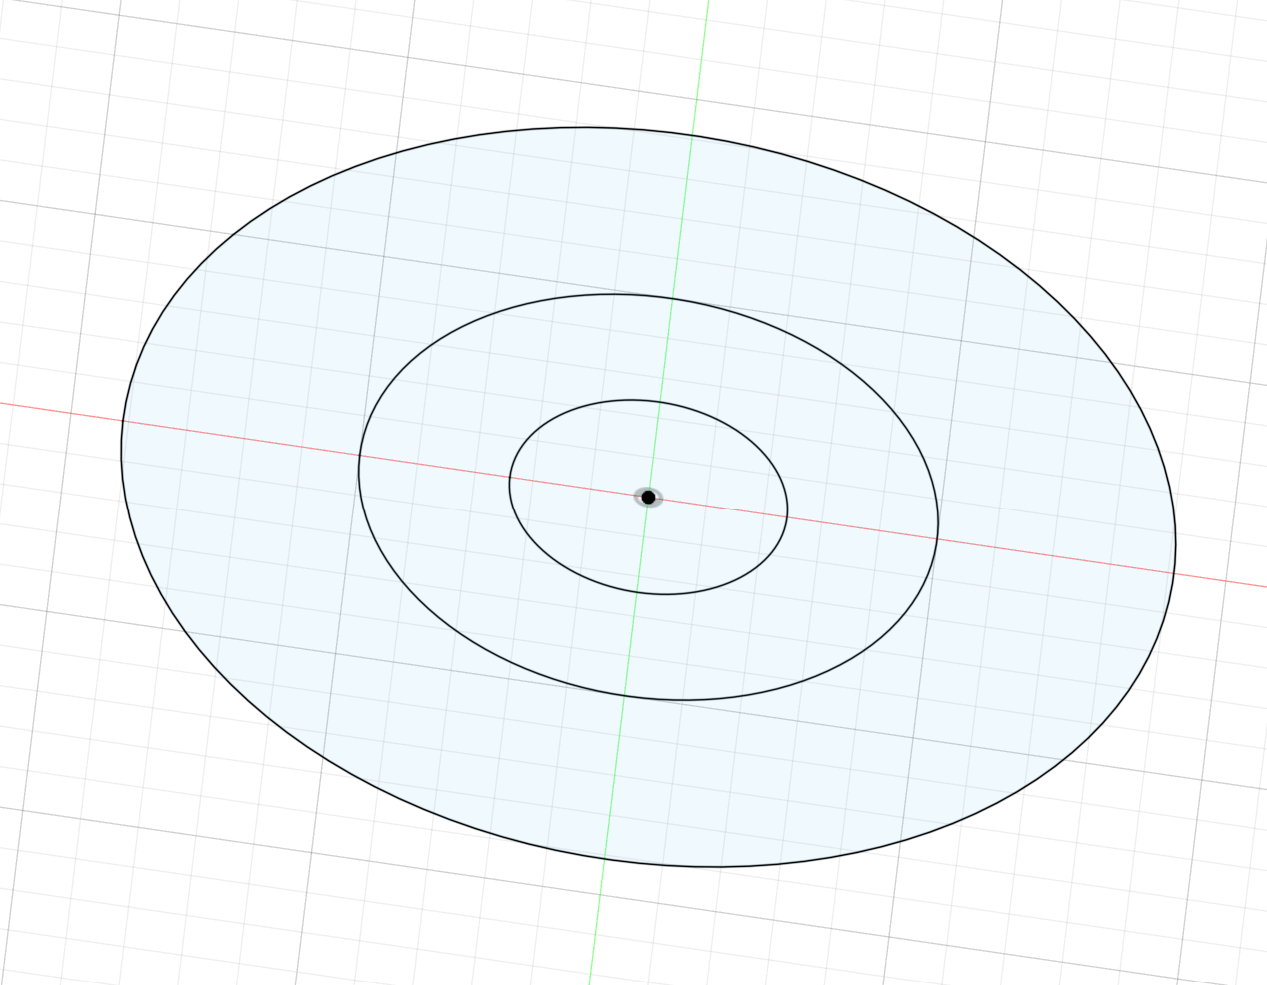
From there, I extruded the features and used a combination of chamfer and fillet tools to modify the bodies.
Raw bodies of the bottle, followed by the refined and more accurately modeled curved model.
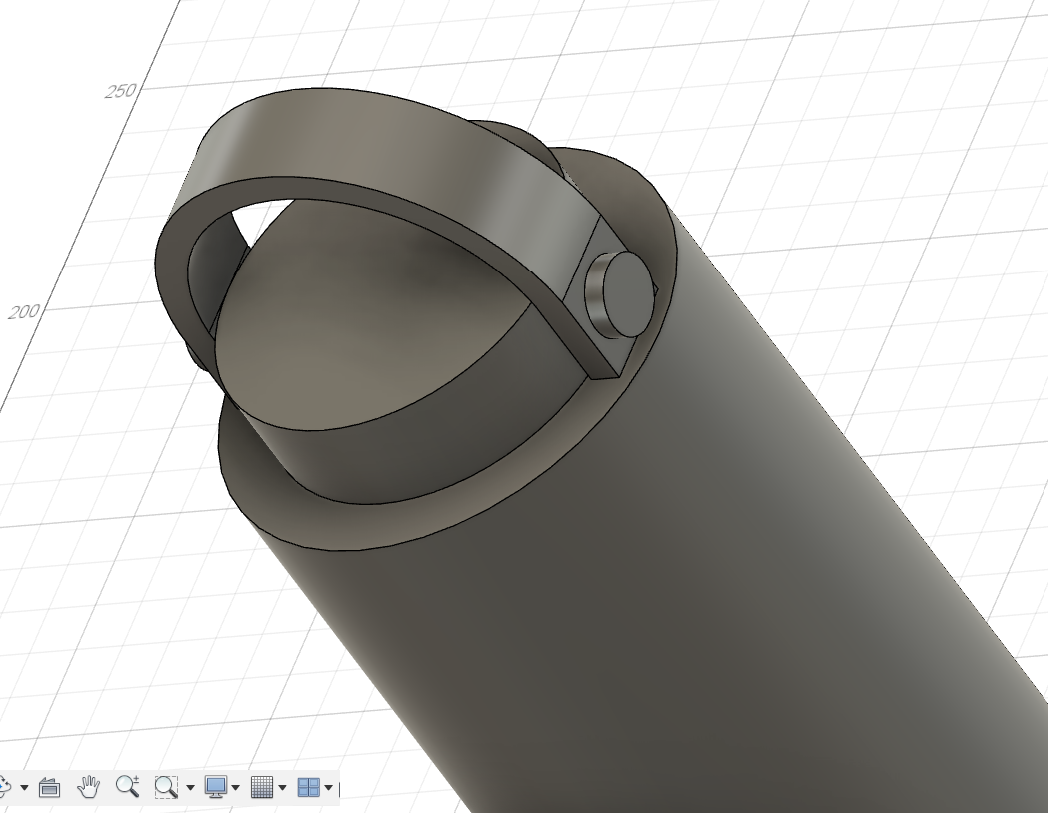
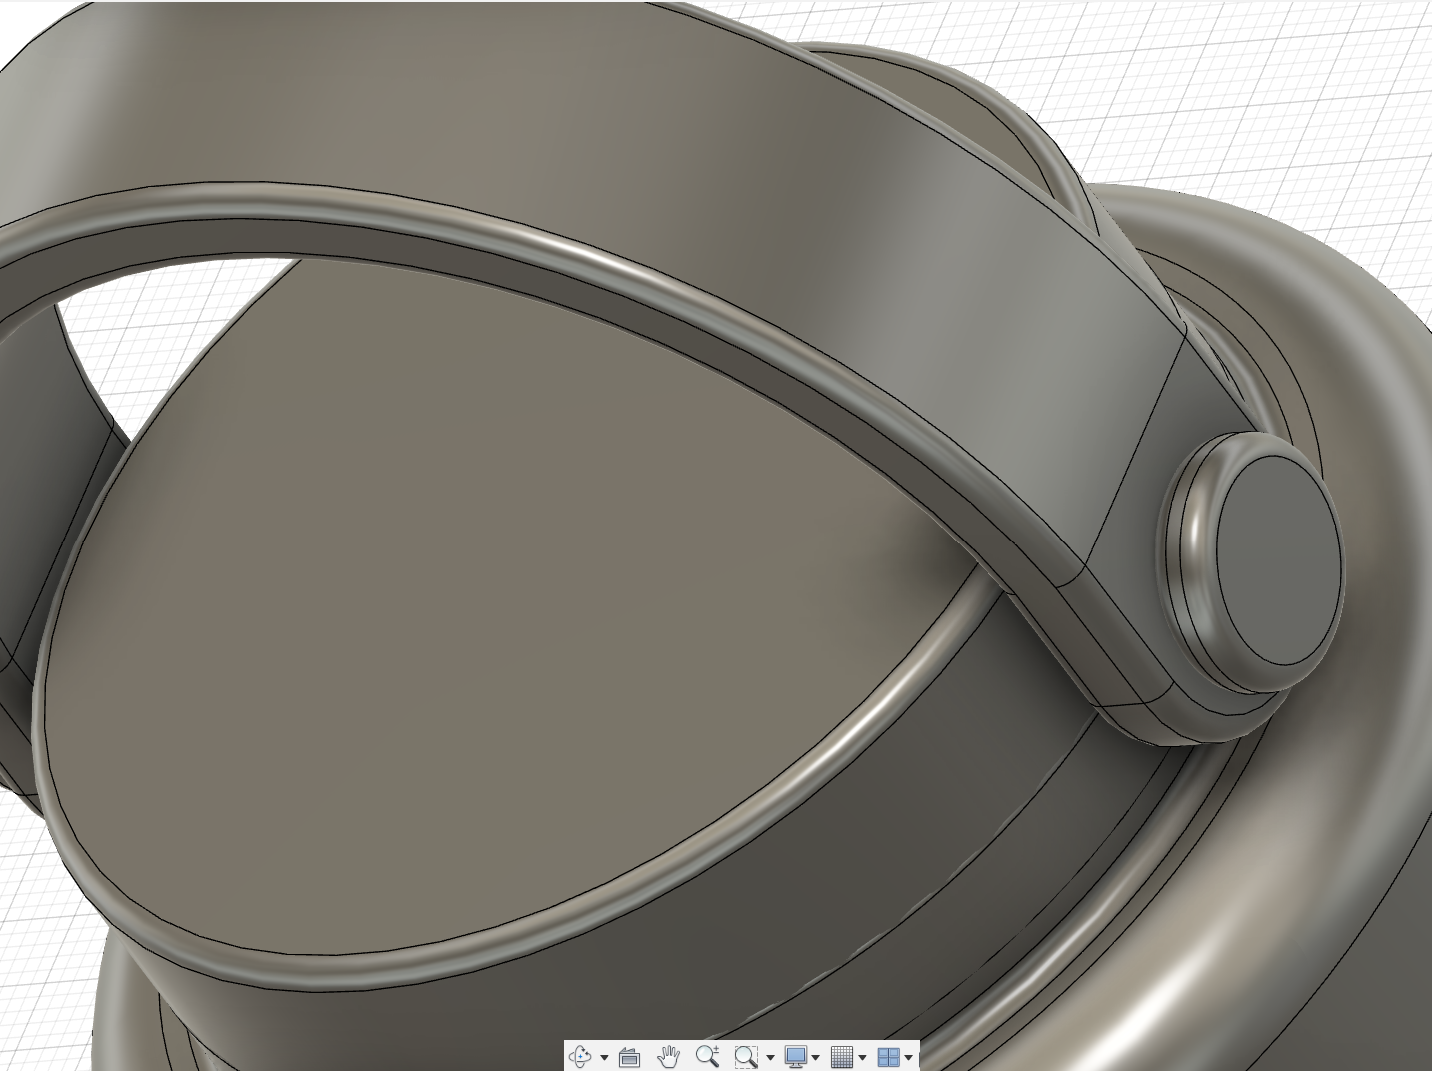
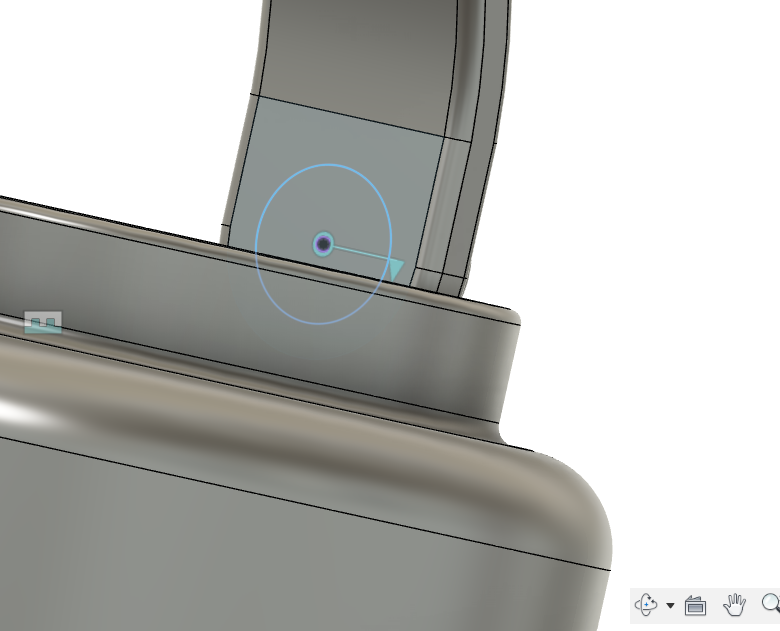
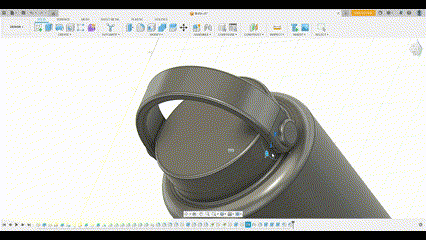
Finally, I added my joint to attach the handle to the lid, and to attach the lid to the bottle. To do this, I created projections of the circles on the end of the handle onto the cap to give a point of reference for the joint.
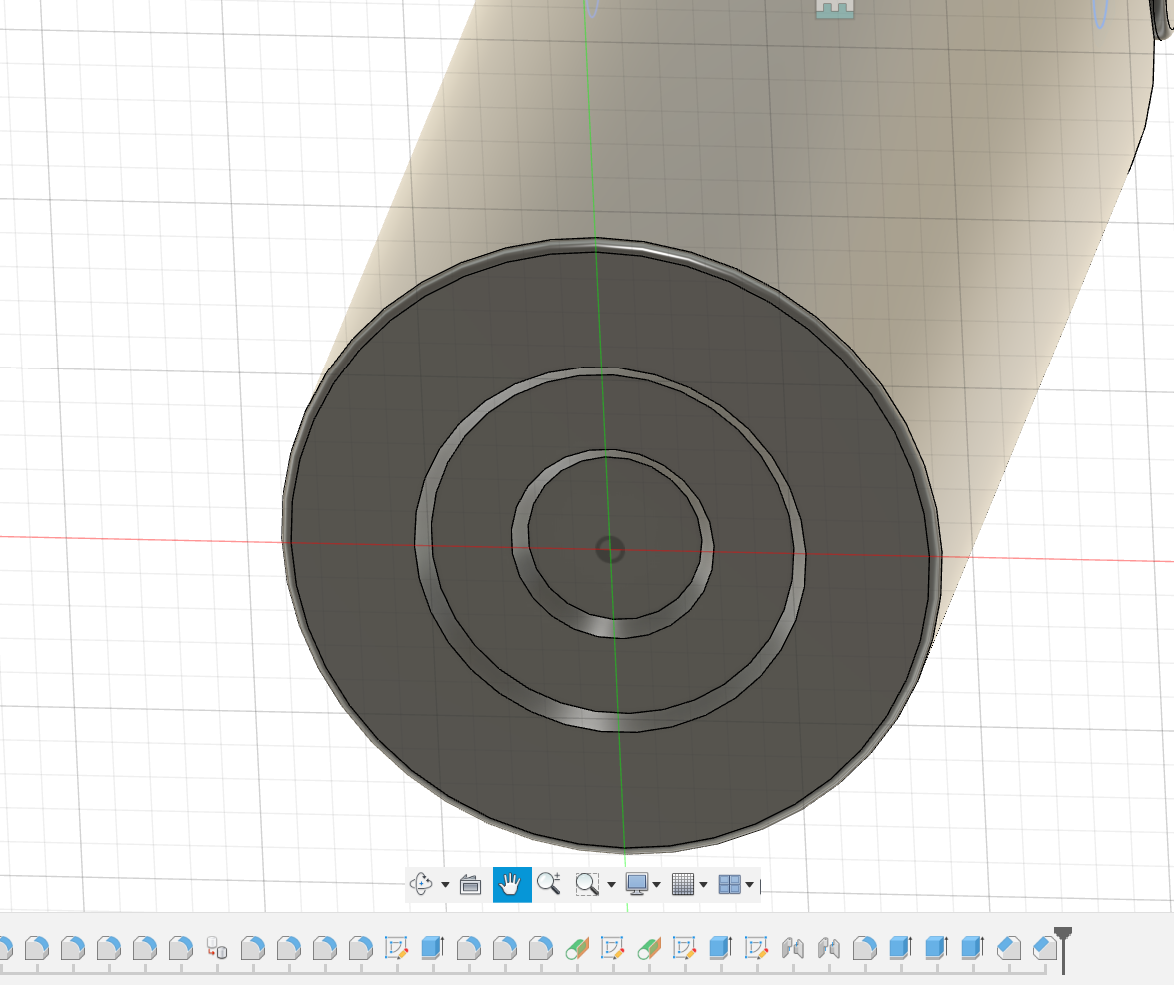
I also added a couple extra details, such as the engravings on the bottom of the bottle and the bottle being functional (theoretically I could pour CAD water into the hollow inside of the bottle :P).
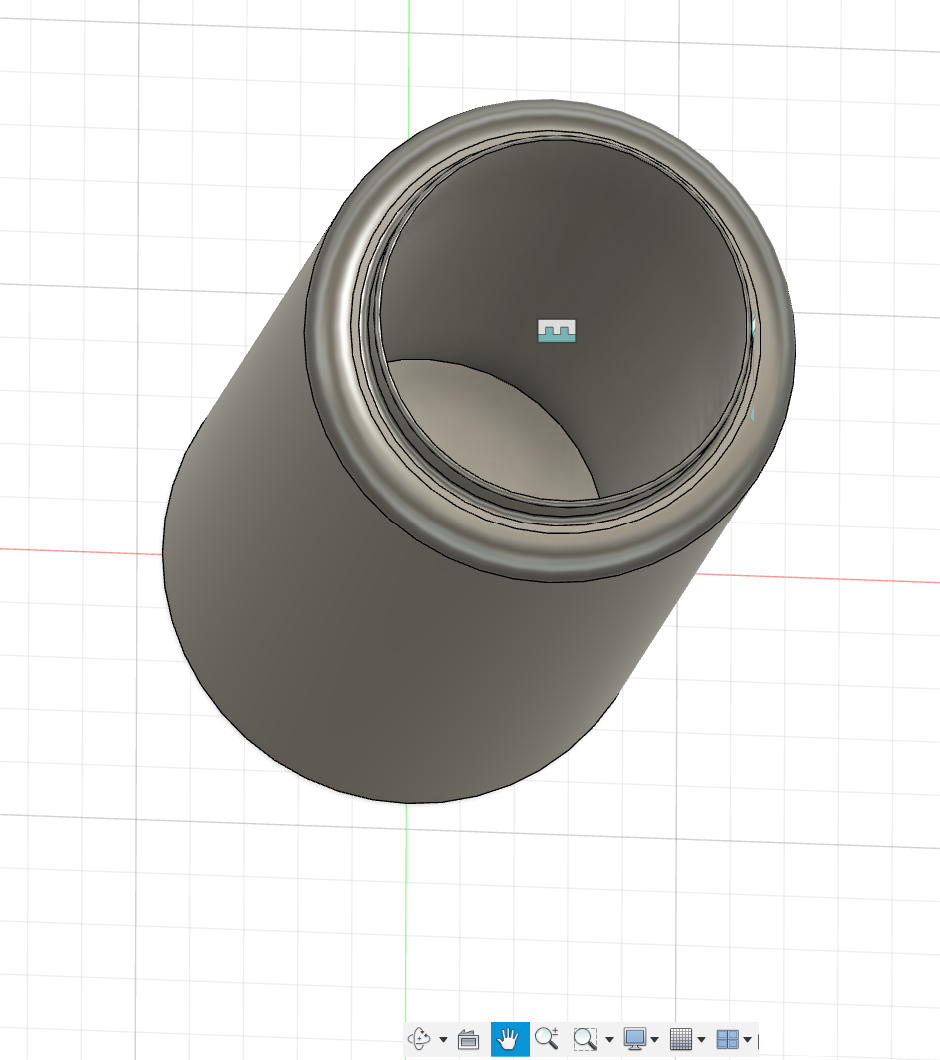
Raw bodies of the bottle, followed by the refined and more accurately modeled curved model.
My second design was a lot more simple -- the USB receiver that my mouse uses to communicate with my computer.
To design this, I split it into two parts, the USB itself, and the plastic bit that goes on the end. Compared to the water bottle, the joint for this was a lot simpler since it didn't have to move and was relatively straight forward in placement.
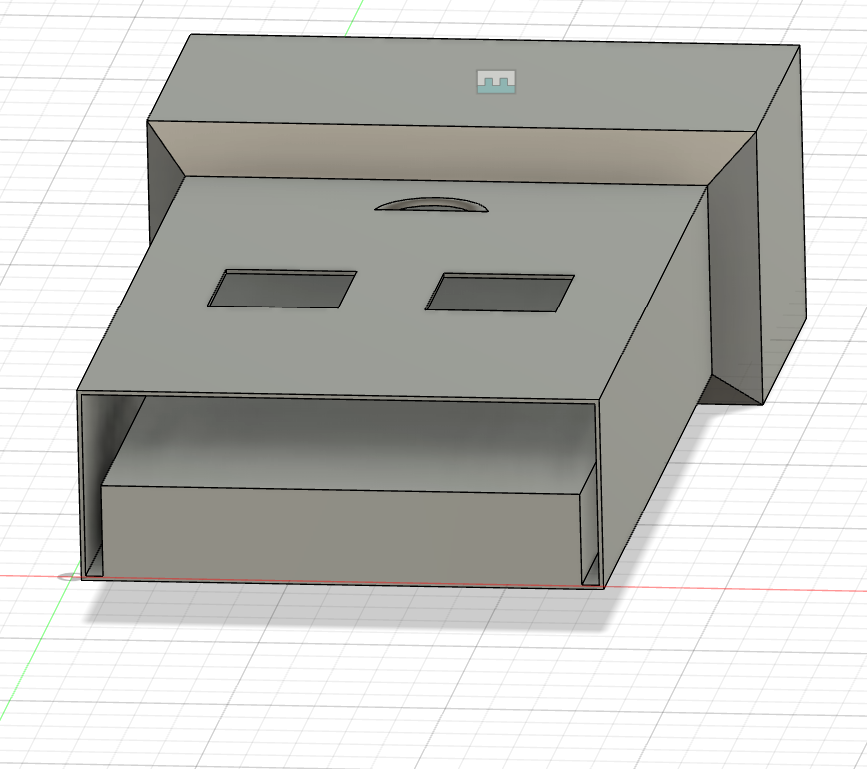
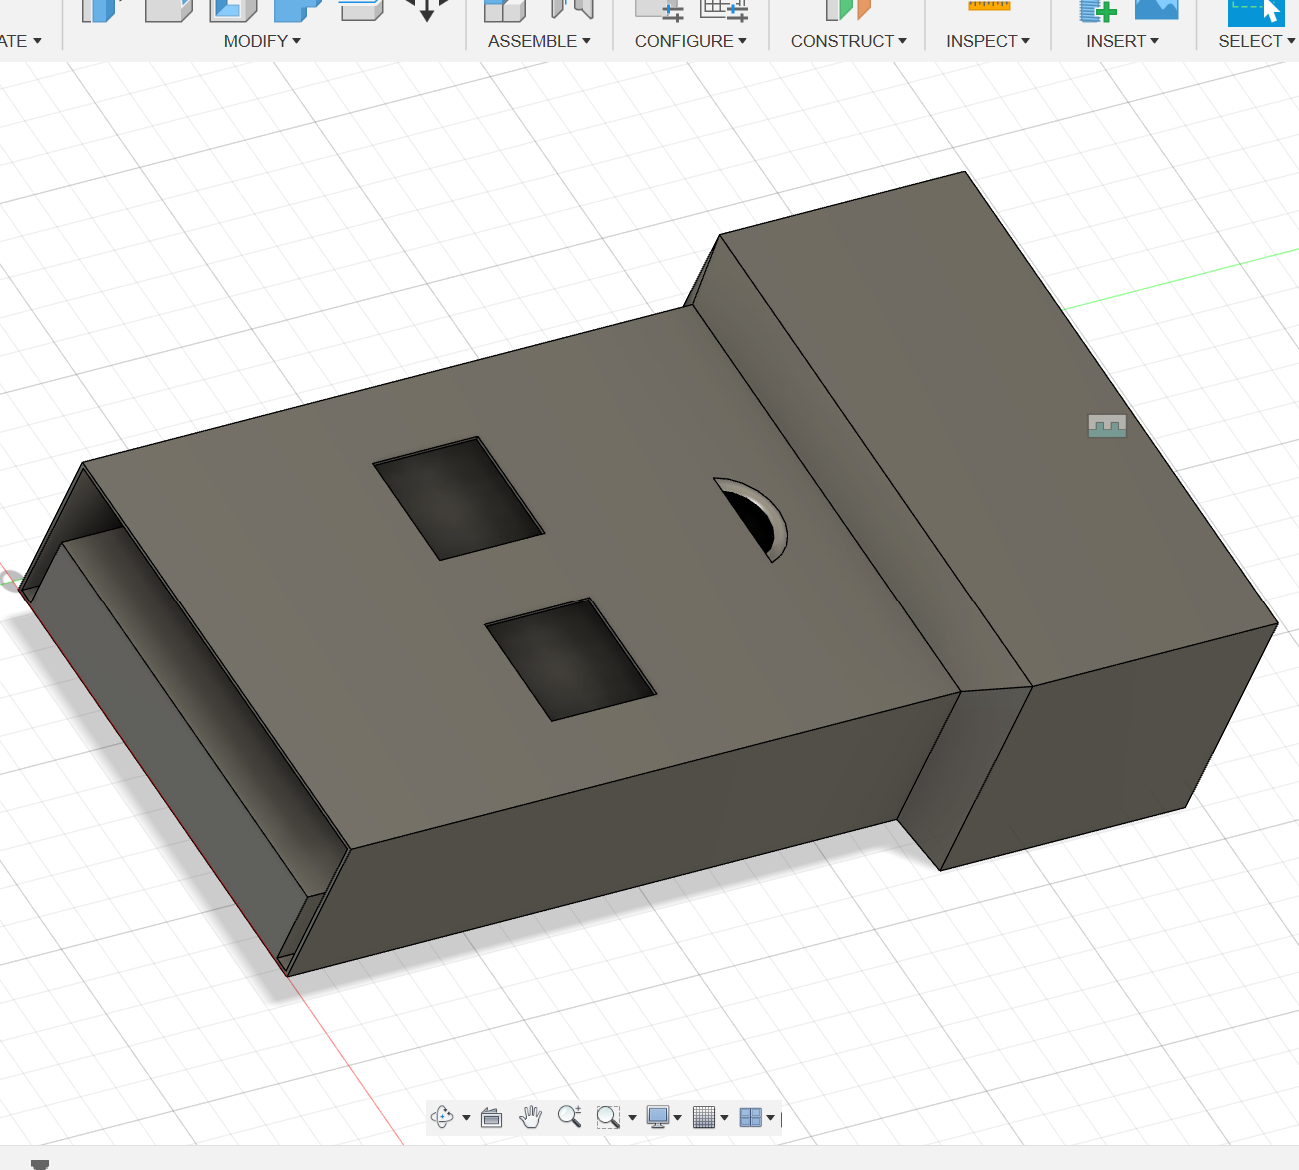
Designing this part was a lot easier, since I had the experience of designing the much more complicated water bottle. This assignment taught me how to better conceptualize objects in the 3d world into the 2D planes that exist in Fusion360.
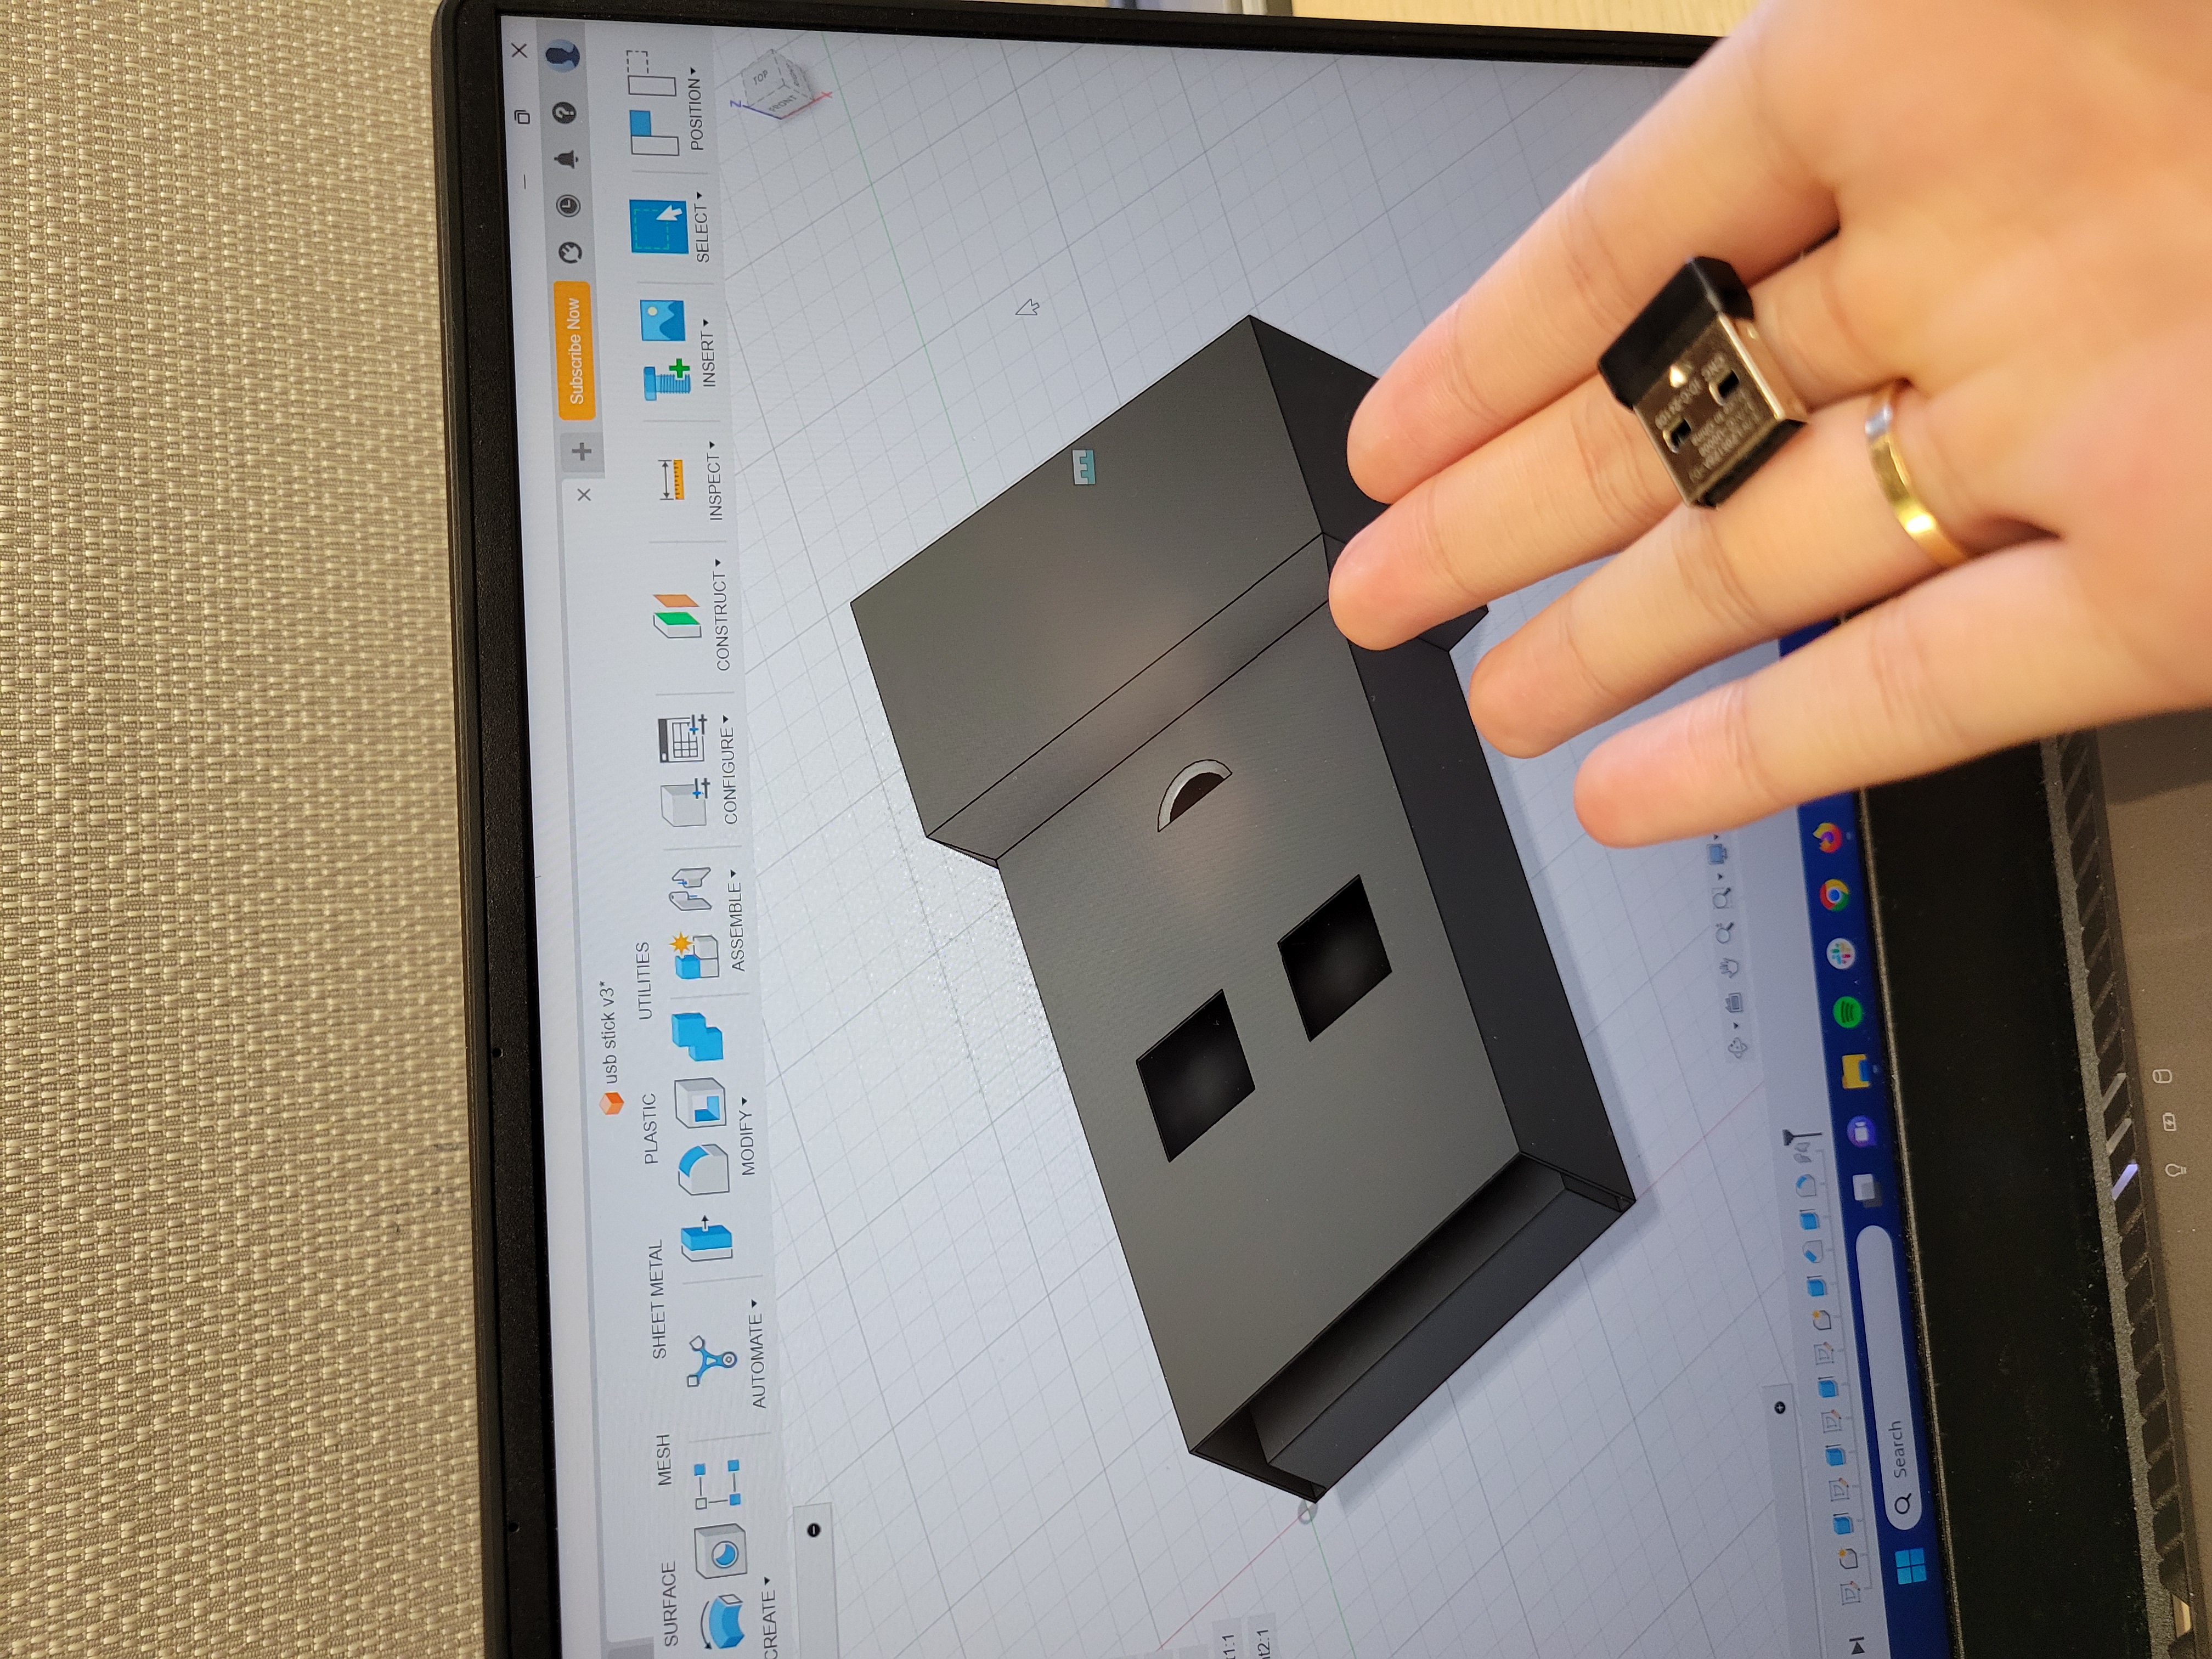
A comparison of the object to the model I created.
Part 2: A House, A Home, A Haven: Building a Box
For the second part of the assignment, we were tasked with building a box from laser cut cardboard. This involved use of patterns, parametrics, and troubleshooting with physical hardware (the laser cutter and the cardboard itself) and was more challenging than expected. I started off by making a 2d sketch of the box laid out:
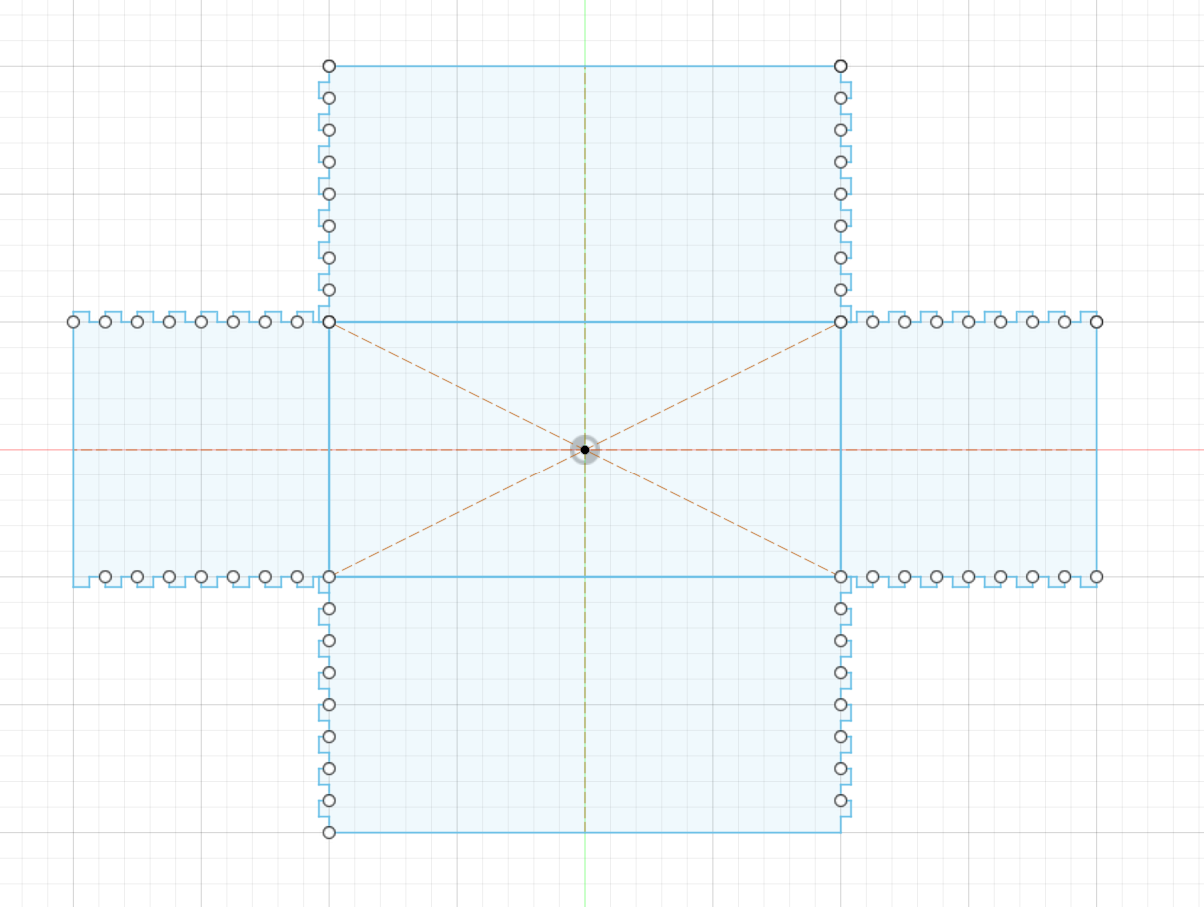
A sketch of the box, along with the rectangular pattern I used to create the teeth.
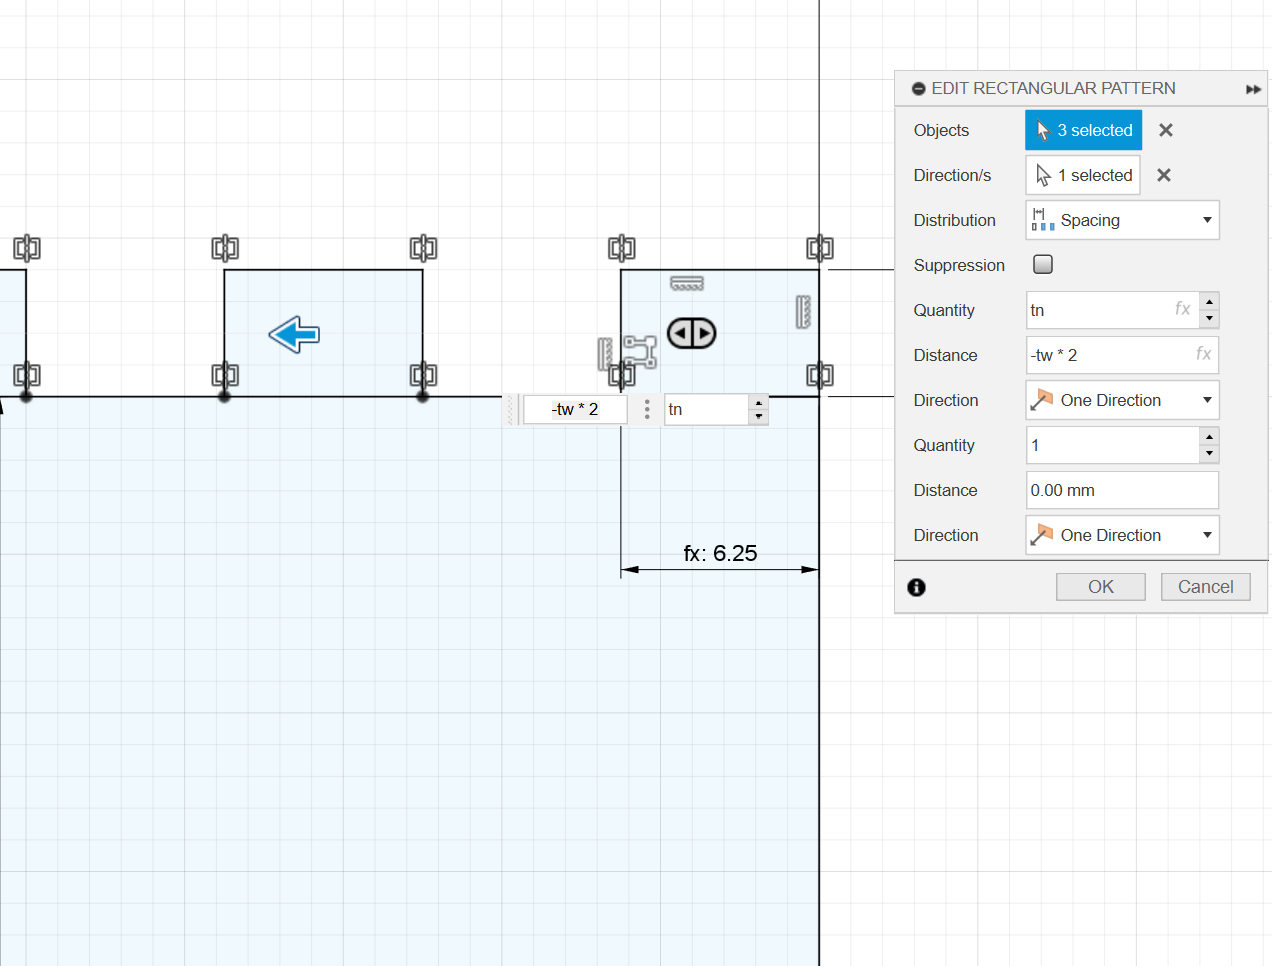
Modeling this box out utilizing parameters and patterns was more difficult than expected. I realized that oftentimes, the patterns I would create would have overlapping lines that would later tell the laser cutter to cut the line multiple times, messing up the design. I also had a lot of troubleshooting as to which parametric measurements should be relative to one another -- for instance, the spacing was relative to the width of the teeth so that the teeth would eventually interlock. Here are the parameters I used for my box:
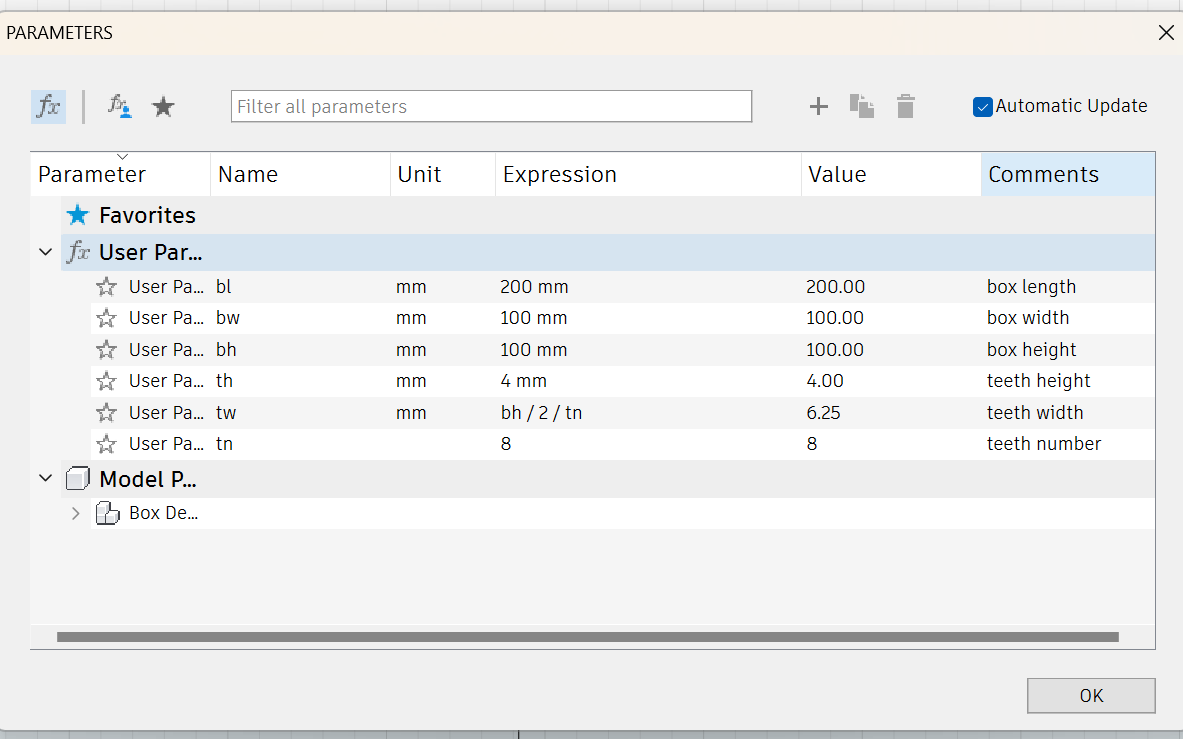
I'm especially proud of the "teeth width" parameter, which is based off of box height and the number of teeth to scale correctly. This took a LOT of troubleshooting
Below is the final box. As you can see, the last side doesn't completely stay by itself. I noticed it was due to a problem with the way the corrogation in the cardboard worked. While it's strong one way, it bends easily in the other, which leads some of the teeth to get smooshed in the final assembly.
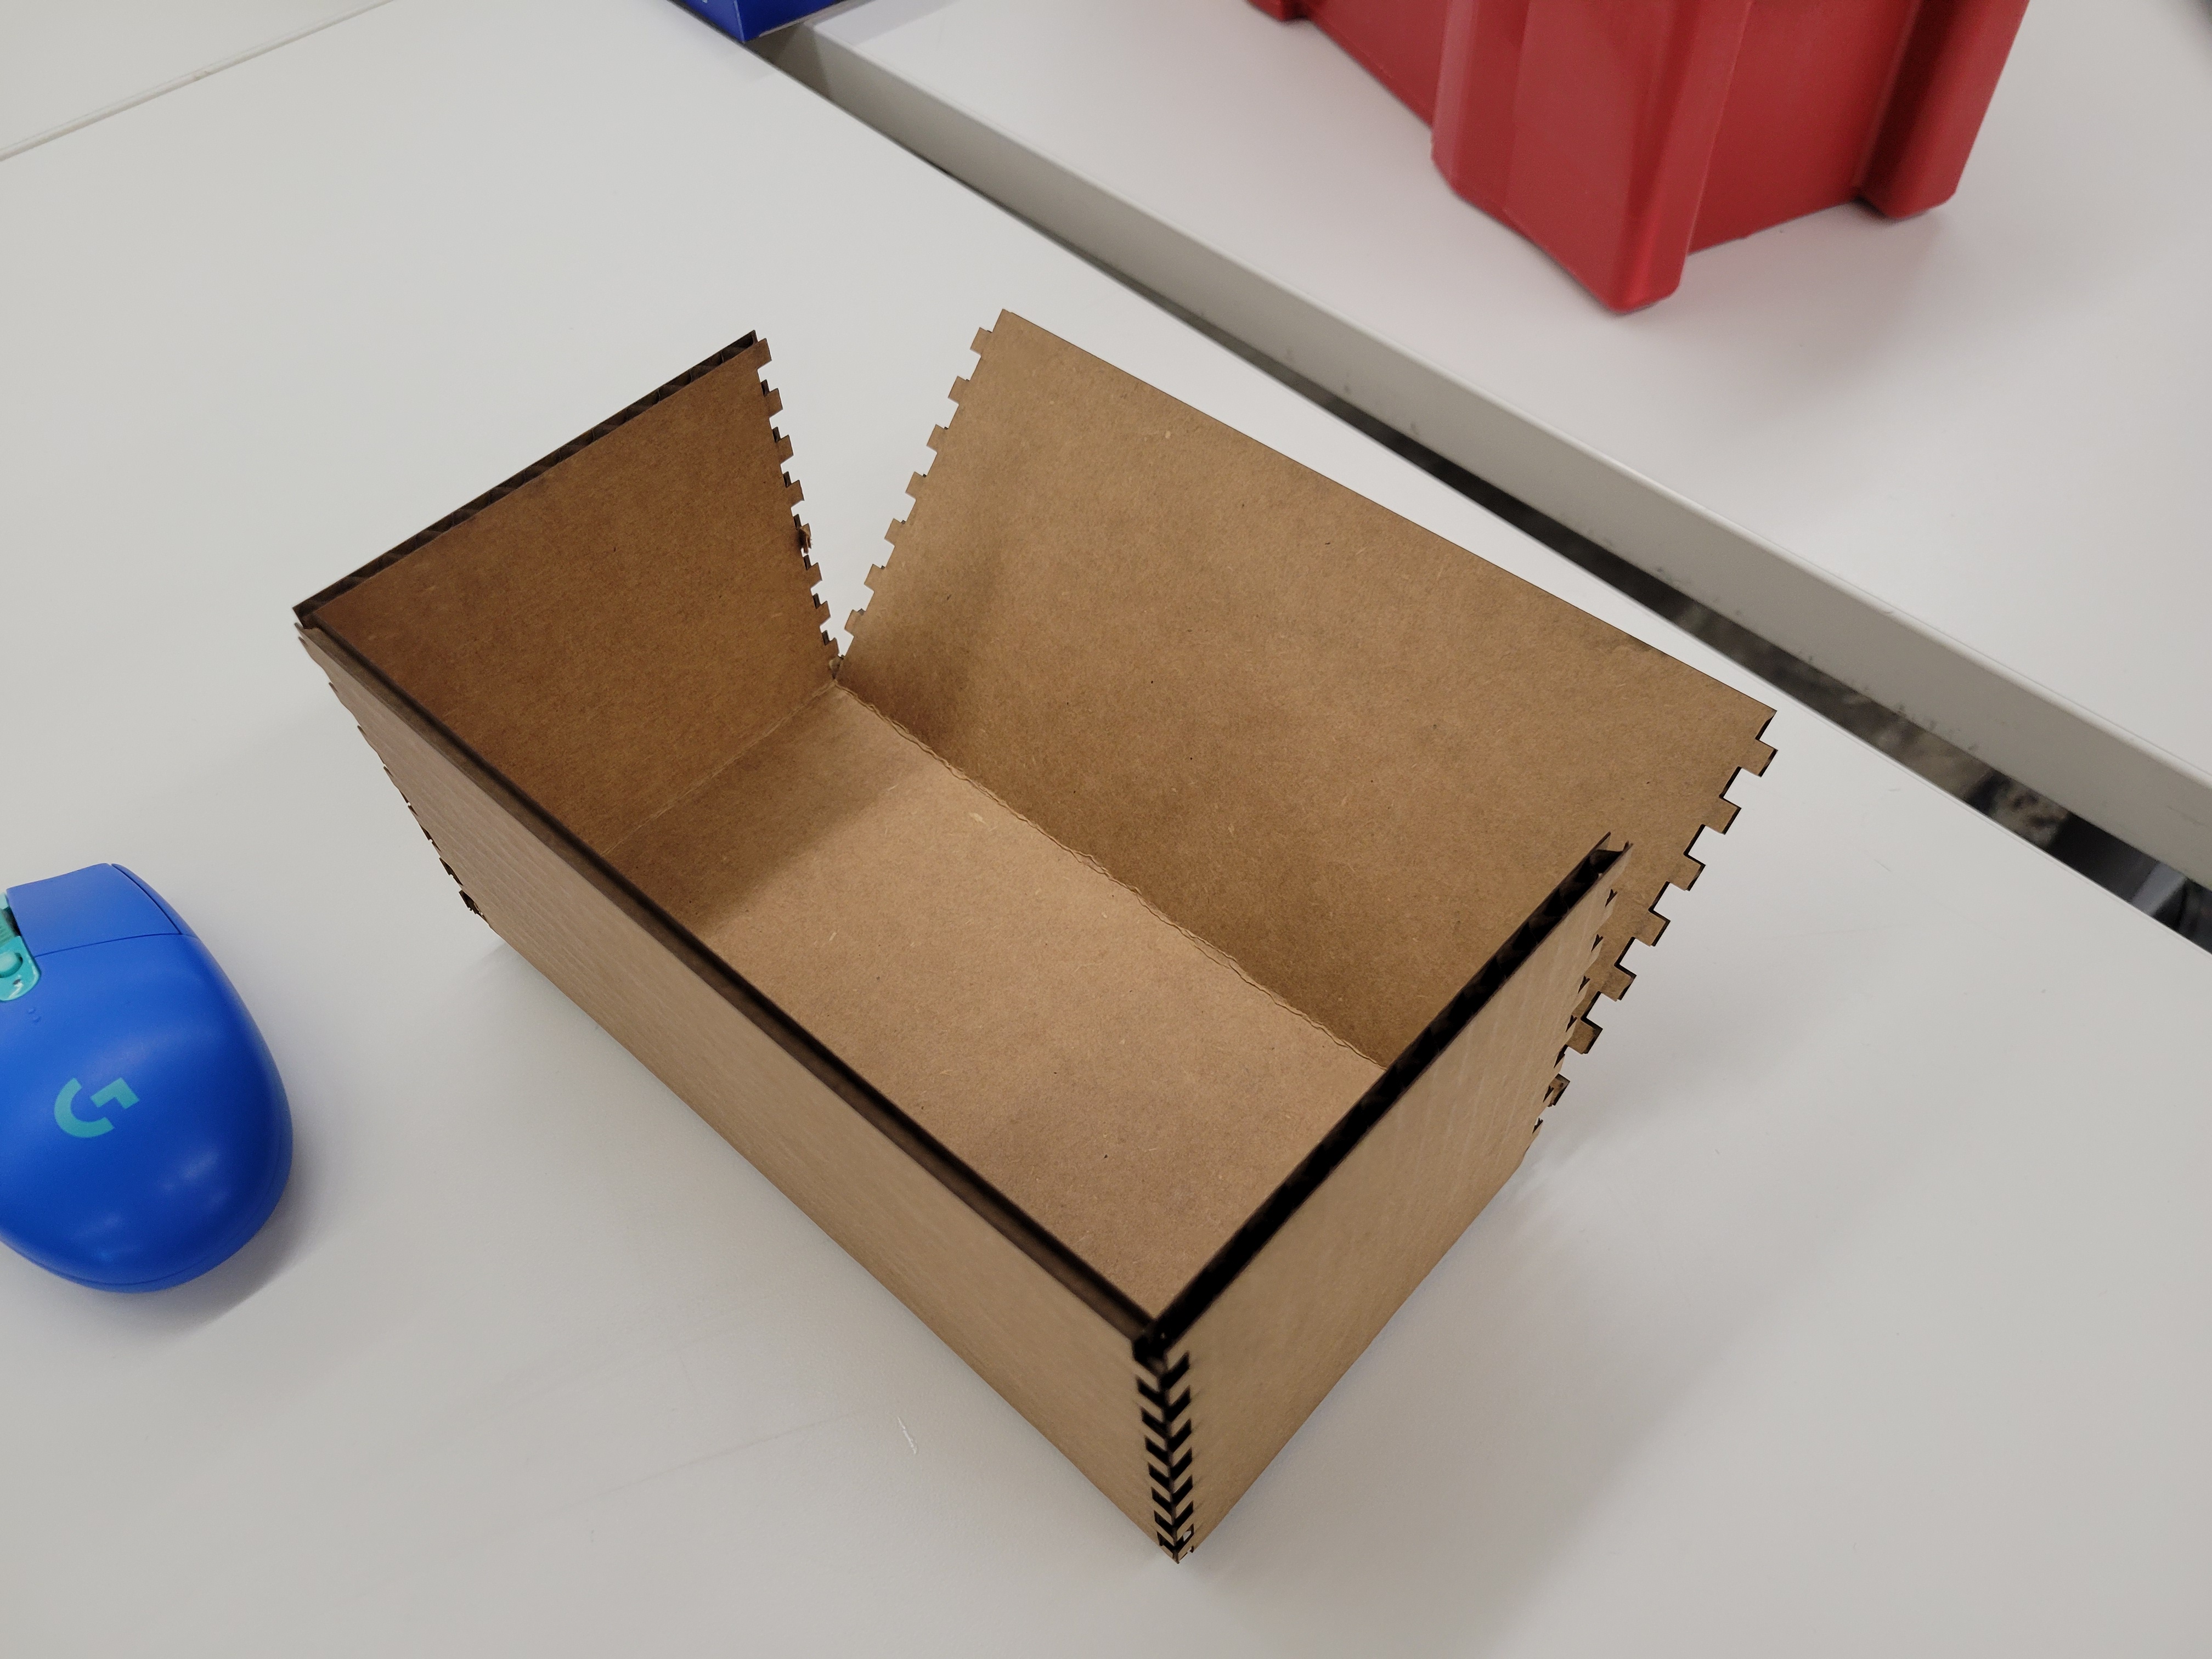

one idea to improve the structural integrity of the cardboard is to cut the box at an angle to offset the teeth problem. For future iterations of the box!